by
by Shortcut for Screenshot Tool in Windows 10 There’s a game-changing tool built right into Windows 10 that can make your life easier when it comes to capturing those important moments on your screen. I’m talking about the Screenshot Tool, and trust me, you need to get to know it. If you’re tired of fumbling around trying to find the right method to grab a snapshot, I’m here to show you the quick shortcuts that will save you time and boost your productivity. Let’s dive in and make taking screenshots a piece of cake!
Table of Contents
Key Takeaways:
- Windows + PrtScn captures the entire screen:
This shortcut allows users to take a screenshot of their entire screen effortlessly. The captured image is automatically saved in the ‘Screenshots’ folder within the ‘Pictures’ library.
- Alt + PrtScn captures the active window:
By pressing this combination, users can quickly capture only the active window, which is useful when you want to focus on a specific application without the clutter of the desktop.
- Windows + Shift + S for selective screenshots:
This shortcut launches the Snipping Tool, allowing users to click and drag to capture a specific area of the screen. It gives more control over what you want to screenshot, making it ideal for capturing smaller sections of information.
How to Take a Screenshot in Windows 10
The options available for taking screenshots on a Windows 10 device are numerous, making it easier than ever to capture exactly what you want. Whether you’re documenting a project or sharing a funny meme, I’ll walk you through the simplest methods available.
Using the Print Screen Key
With a single press of the Print Screen key (usually labeled as PrtScn), you can capture your entire screen. This method is simple but effective, copying the screenshot to your clipboard so you can easily paste it into an image editing tool or document. It’s my go-to method for quick captures!
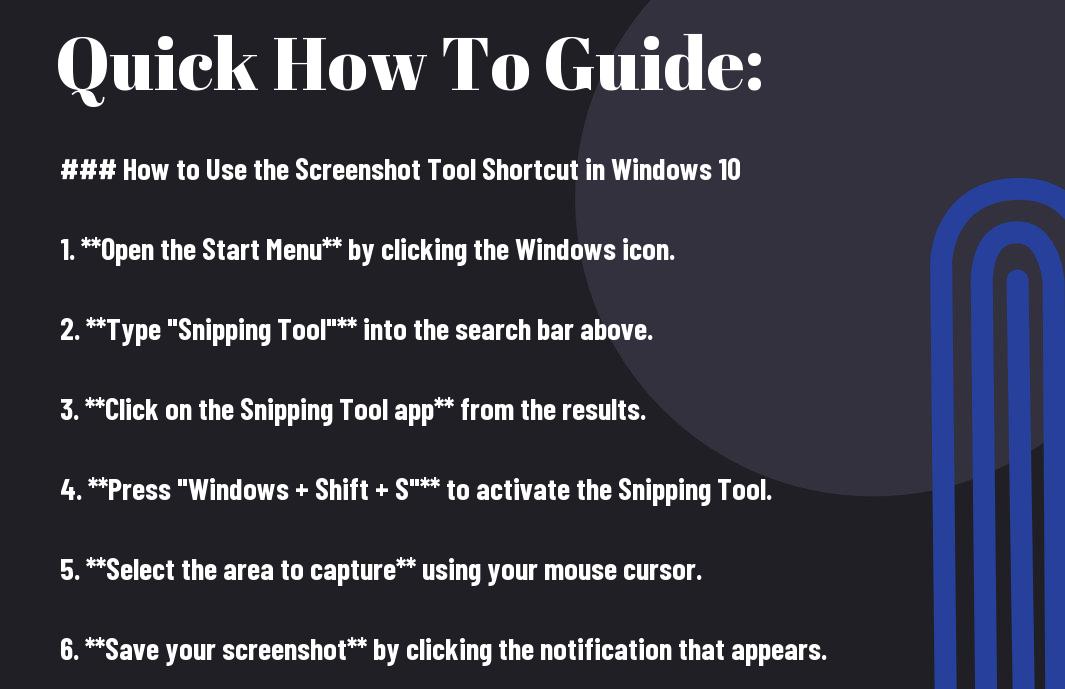
Snipping Tool Magic
Any Windows user should get familiar with the Snipping Tool, a built-in utility that allows you to take screenshots in a more controlled manner. Whether you want a full screenshot or just a portion, this tool has you covered, and it’s incredibly easy to use!
Screenshot options in the Snipping Tool include free-form, rectangular, window, or full-screen snips. You can also annotate your captures before saving, which is a game changer for sharing information quickly and efficiently. Once you start using it, there’s no turning back!
Snip & Sketch App Essentials
Essentials for modern screenshotting include the Snip & Sketch app, an upgraded version of the Snipping Tool. You can swiftly take screenshots and even edit them directly within the app, making it super convenient for on-the-fly edits.
Understanding the Snip & Sketch app features is crucial—don’t sleep on the annotation tools and the ability to share directly from the app. With its user-friendly interface and quick access via shortcuts, you’ll find yourself taking high-quality, shareable screenshots without breaking a sweat.
Tips for Efficient Screenshots
Assuming you want to up your game with screenshots in Windows 10, I’ve got some practical tips that will help you streamline the process:
- Plan your shots ahead of time
- Use keyboard shortcuts for quick access
- Organize your screenshots effectively
- Customize your screenshot settings
- Practice makes perfect
Recognizing these techniques can save you time and make your workflow more efficient!
Use Keyboard Shortcuts
Now, let’s talk about the power of keyboard shortcuts. When I started using Windows 10, I quickly discovered that mastering these shortcuts could skyrocket my productivity. Instead of fumbling around menus, I hit Windows + Shift + S, and boom, I’m ready to capture what I need in seconds. Trust me, this little change can make a massive impact on your daily tasks!
Organizing Your Screenshots
An efficient workflow isn’t just about taking screenshots; it’s also about how you manage them afterward. I’ve found that without a solid organization system, my screenshots can quickly become a digital mess.
This organization is critical for efficiency. I suggest creating dedicated folders in your Documents or Pictures library based on the projects you’re working on or by date. You don’t want to fall into the trap where screenshots get lost in a sea of files. It’s a headache, and trust me, sorting through a cluttered folder is absolutely frustrating. By taking a few minutes to keep things tidy from the start, you’ll find it much easier to locate important captures later on. So, take control of your screenshots and make them work for you!
Factors to Consider
Keep in mind that choosing the right shortcut for the screenshot tool in Windows 10 can make a massive difference in your workflow. Here are some factors to consider:
- Speed of capturing your screen.
- Convenience of access to the tool.
- Functionality of the screenshot tool.
- Integration with other apps and features.
Recognizing these factors will help you maximize the potential of your screenshot capabilities.
Image Format Impact
If you’re not considering the image format, you’re missing out. Different formats like PNG, JPEG, and GIF have their strengths. PNG is fantastic for high-quality images, while JPEG saves space but can lose some details. Your choice impacts the look and usability of your screenshots big time.
Editing Options Post-Screenshot
Image editing is where the magic really happens after you take your screenshot. You can crop, annotate, and even color-correct your images to make them pop!
Consider these editing options seriously; they can elevate your screenshots from basic to extraordinary. After capturing, you’ve got tools like Snip & Sketch or even third-party software to let your creativity shine. You can add text for clarity, draw shapes for emphasis, or even blur out sensitive info. Be mindful of, the right edits can turn a plain picture into a powerful message. So don’t just snap and forget – bring your screenshots to life!
Conclusion
Now that you know the shortcuts for the Screenshot tool in Windows 10, it’s time to level up your productivity. Seriously, these quick keys can save you time and help you share ideas faster than ever. I’ve been there, fumbling around to grab a screenshot—now I just hit that Windows + Shift + S, and boom! It’s all about finding those little hacks that make your life easier, so get out there and start snapping, my friend. Your workflow will thank you!
FAQ
Q: What is the shortcut for taking a screenshot in Windows 10?
A: In Windows 10, you can take a screenshot using several shortcuts. The most common method is by pressing the ‘Windows key + Print Screen (PrtScn)’ keys simultaneously. This will capture the entire screen and save it automatically to the ‘Pictures’ folder under ‘Screenshots’. Another option is to use ‘Alt + Print Screen’ to capture only the active window, which can then be pasted into an image editing software such as Paint. For more flexibility, you can also use the ‘Snipping Tool’ or ‘Snip & Sketch’, accessed by pressing ‘Windows key + Shift + S’, which allows you to select specific areas of your screen for capture.
Q: How can I access the screenshots taken using the Windows key + Print Screen shortcut?
A: Screenshots taken using the ‘Windows key + Print Screen’ shortcut are automatically saved in a dedicated folder. To access these screenshots, open the ‘File Explorer’ and navigate to ‘This PC’ > ‘Pictures’ > ‘Screenshots’. Here, you will find all the screenshots you have captured using this keyboard combination, neatly organized and ready for viewing or editing. If you take multiple screenshots, they will be named in a sequential format, such as ‘Screenshot (1)’, ‘Screenshot (2)’, and so forth.
Q: What should I do if the screenshot shortcuts aren’t working on my Windows 10 device?
A: If the screenshot shortcuts are not functioning as expected, first ensure that your keyboard is working properly, particularly the ‘Print Screen’ key. If it still does not respond, check your Windows settings. Navigate to Settings > Ease of Access > Keyboard and ensure that ‘Print Screen shortcut’ is turned on. Additionally, consider updating your graphics drivers or restarting your computer, as sometimes glitches in graphics rendering can interfere with screenshot capabilities. If all else fails, you can resort to using the Snipping Tool or Snip & Sketch applications manually, which offer a range of screenshot options beyond the keyboard shortcuts.